Cam phaser rattle at startup: a step-by-step diagnostic path before major teardown
A cam phaser rattle on cold startup is one of the most misdiagnosed sounds in modern engine bays. Owners often assume timing chain failure and face quotes for full engine teardown when the root cause is low oil pressure, deferred oil changes, or worn phaser lock pins. A structured diagnostic path separates expensive repairs from targeted fixes — and documents the evidence before any cover comes off.
How cam phasers control valve timing
Variable valve timing phasers rotate the camshaft relative to the crankshaft, advancing or retarding valve events for efficiency and power across RPM ranges. Oil pressure actuates an internal rotor against a lock pin that holds default timing at startup. Once pressure builds, the pin releases and the module commands phaser position through solenoids.
When oil is slow to reach the phaser gallery — or when sludge restricts flow — the lock pin cannot engage cleanly. The phaser rattles against its stop until pressure stabilizes, producing a metallic knock that fades within seconds. Persistent rattle after warm-up points toward internal wear rather than transient pressure delay.
Distinguishing phaser rattle from chain and lifter noise
Accurate sound characterization prevents unnecessary disassembly. Phaser rattle typically:
- Appears within the first two to five seconds after cold start, then diminishes
- Originates from the front timing cover area on V-configured engines
- Does not correlate with individual cylinder misfire or rocker tick rhythm
- May return briefly after an oil change if incorrect viscosity was used
Timing chain stretch produces sustained rattle under load and often sets correlation codes. Lifter tick persists at idle and changes with engine temperature differently than phaser noise. Recording startup audio and comparing against known patterns helps technicians narrow the source before invasive testing.
Step 1: verify oil condition and pressure
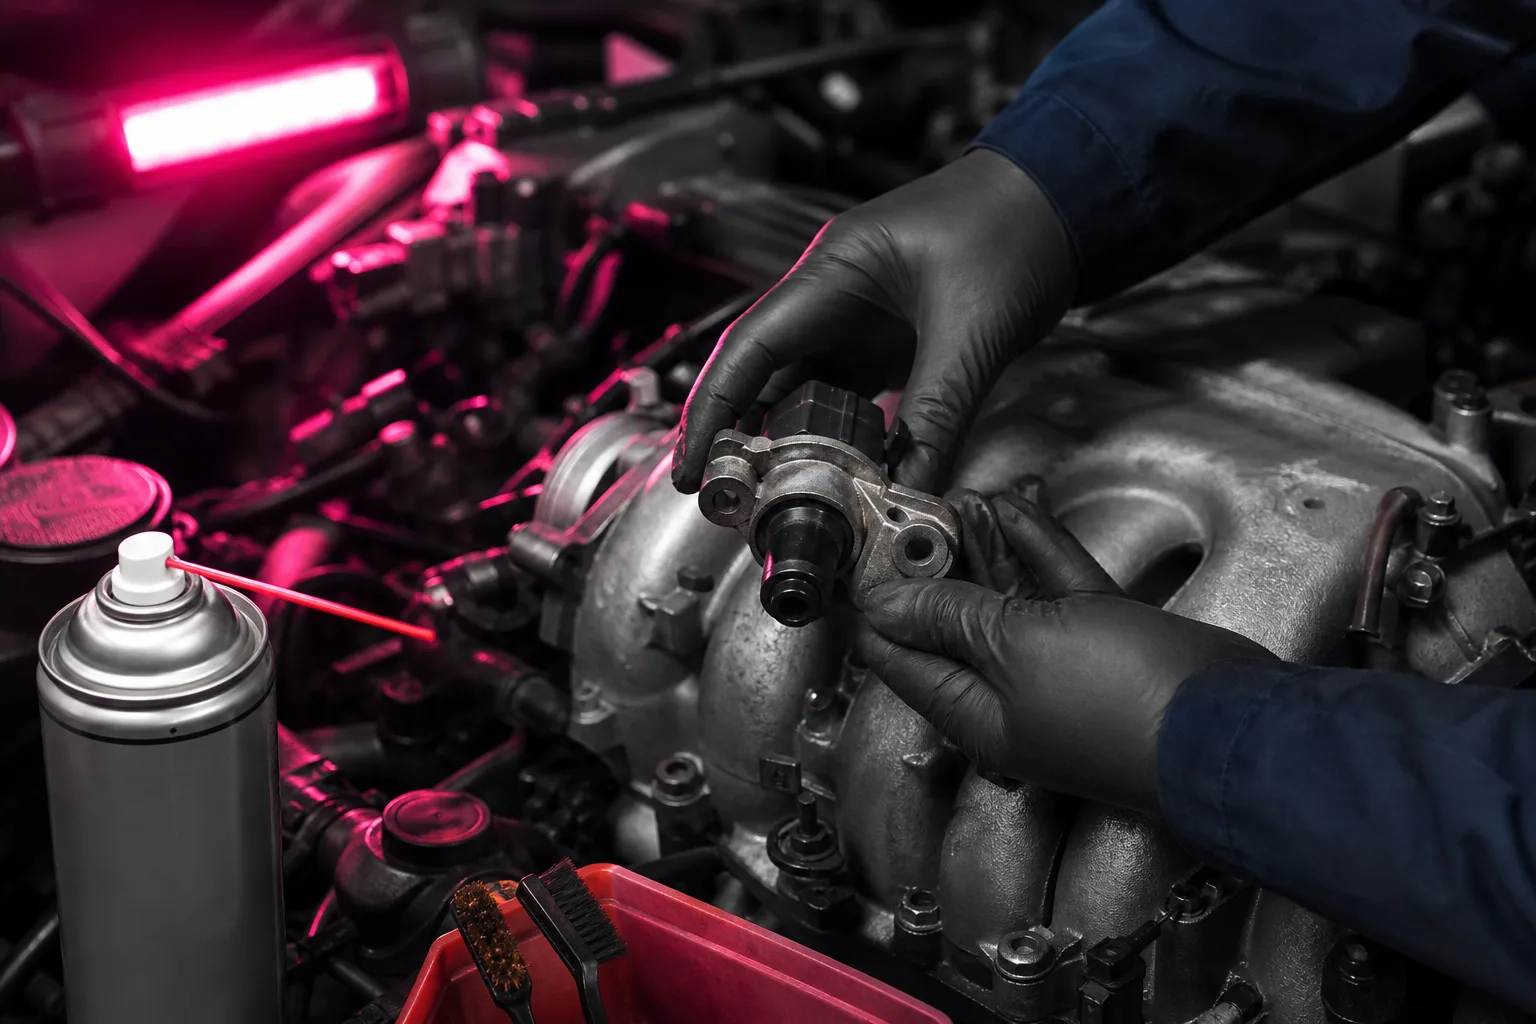
Review maintenance history first. Extended drain intervals and wrong viscosity grades are the most common contributors to phaser complaints on otherwise healthy engines. Pull the dipstick and inspect for dilution, metallic sheen, or sludge deposits at the fill cap.
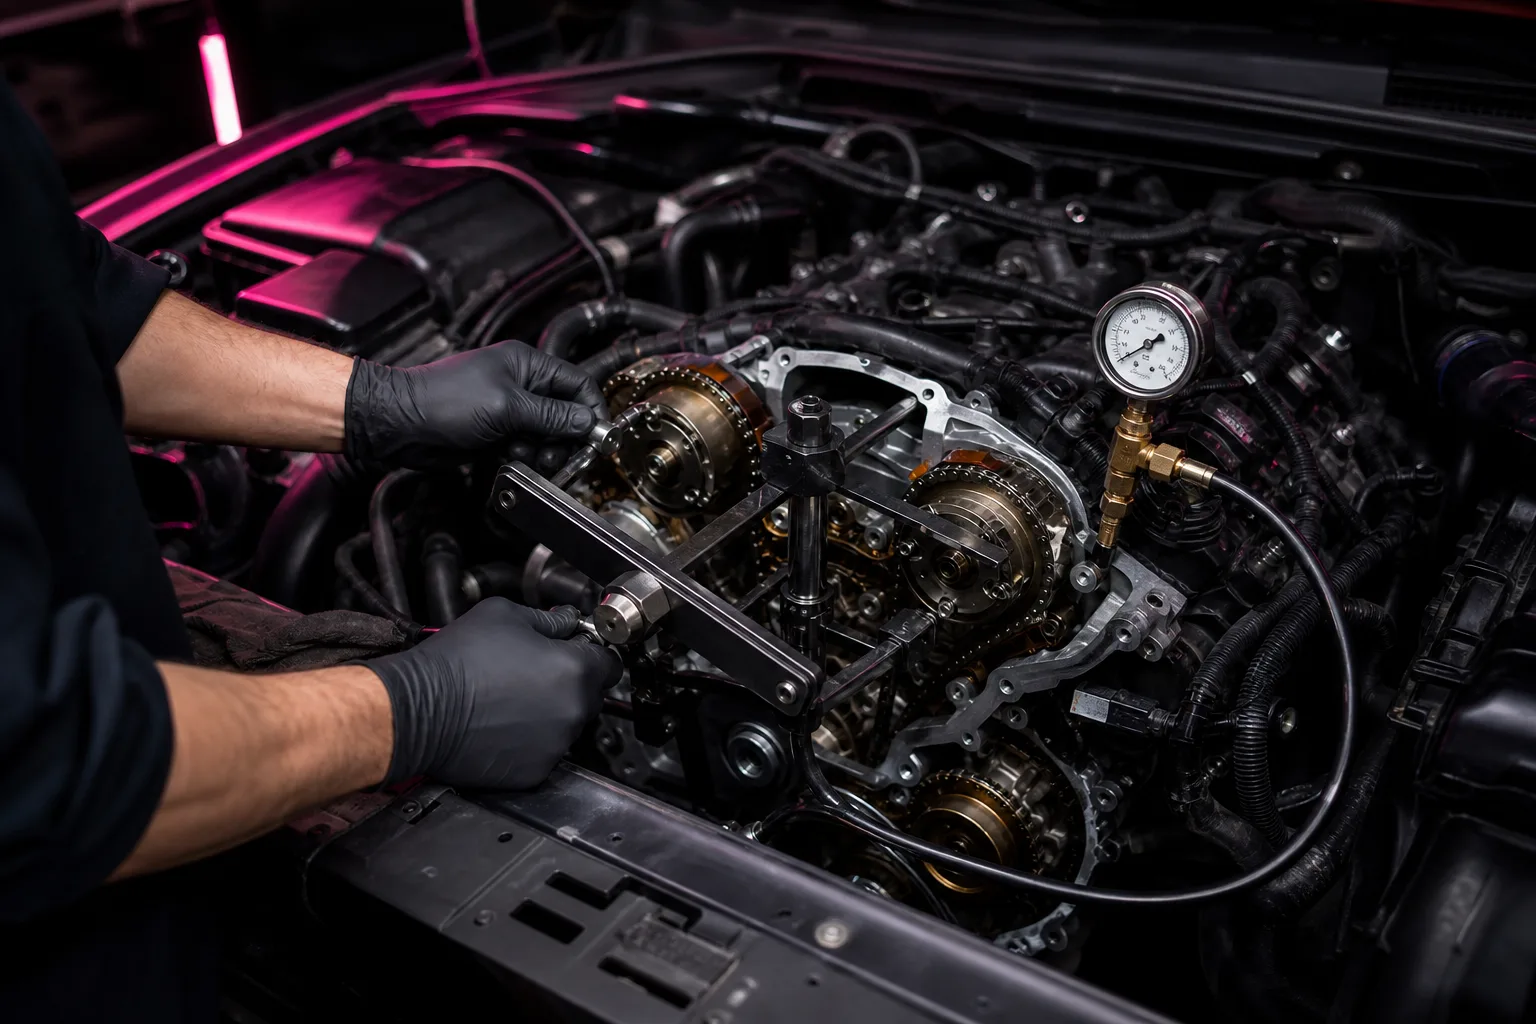
Mechanical oil pressure testing at idle and elevated RPM confirms whether the pump and circuit deliver specification values. Low pressure at hot idle with clean oil may indicate pump wear; low pressure only at cold start with sludged galleries suggests flow restriction solvable without opening the timing cover.
If pressure and oil condition are within spec, proceed to electronic correlation checks. Do not skip this step — replacing phasers on an engine with chronic oil starvation repeats the failure within months.
Step 2: timing correlation and solenoid testing
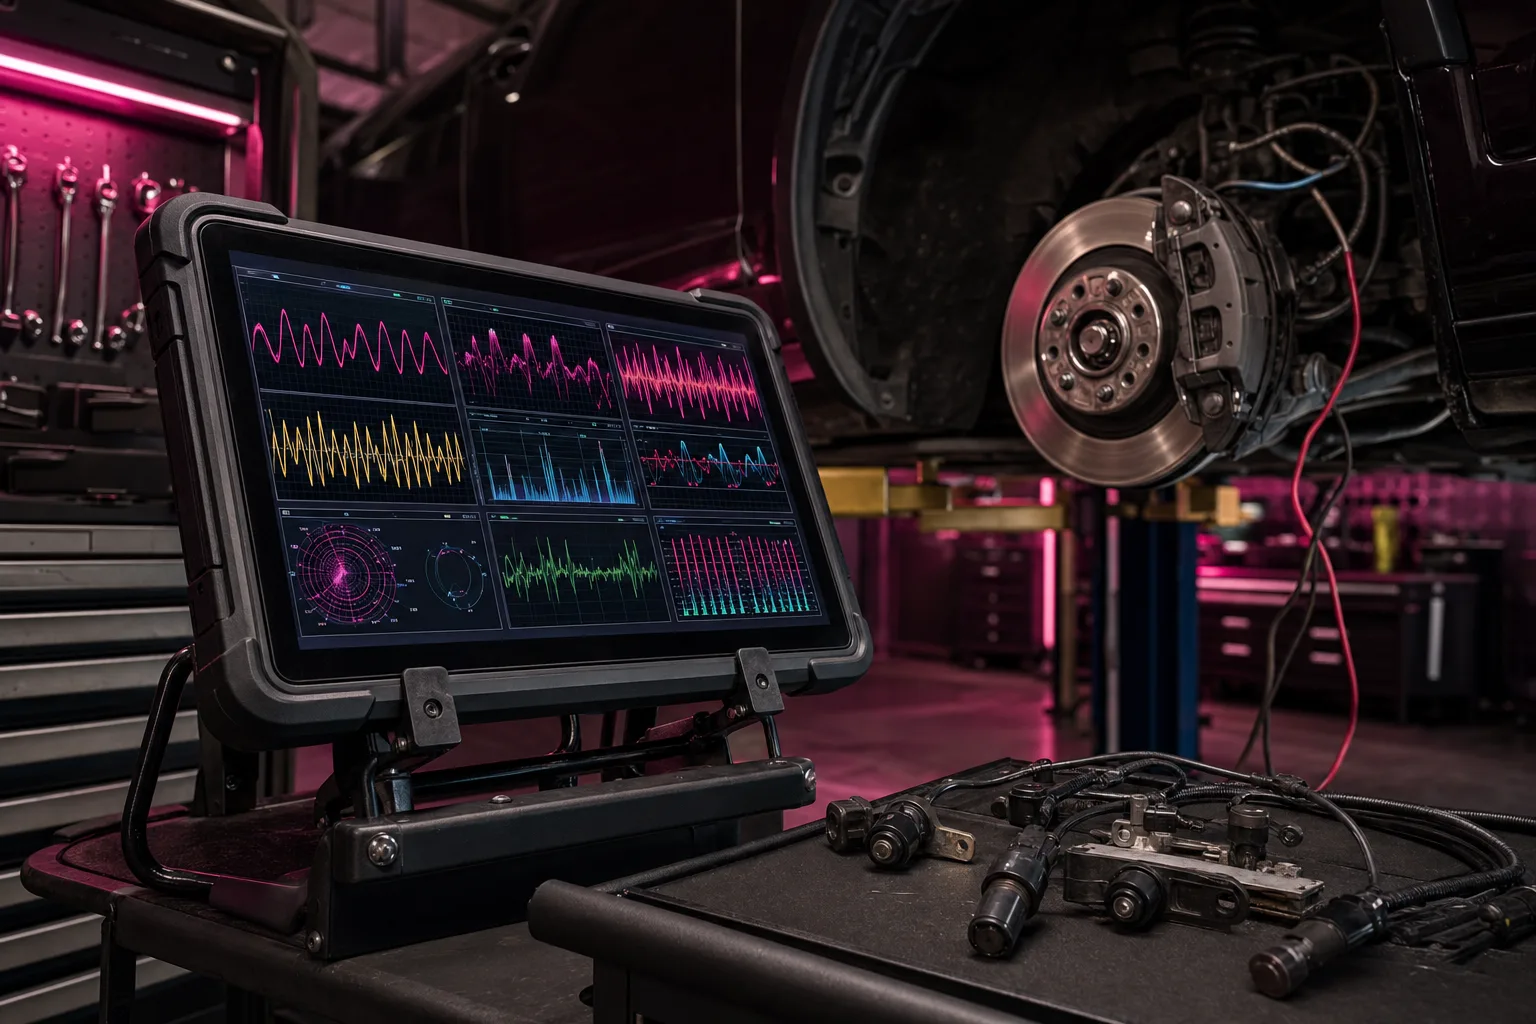
Scan tools display cam and crank correlation values, commanded versus actual phaser position, and any stored VVT-related codes. A consistent offset on one bank often isolates a single phaser or solenoid rather than chain stretch affecting both banks equally.
Actuating VVT solenoids while monitoring response confirms electrical control. A solenoid that fails to toggle may cause the module to default timing and produce rattle from uncontrolled phaser movement. Wiring resistance tests eliminate harness faults before condemning mechanical components.
Some platforms support phaser lock tests through bidirectional controls. Where available, these tests reveal whether the lock mechanism holds under commanded conditions — a direct indicator of internal phaser wear.
Step 3: repair thresholds before teardown
When oil quality, pressure, solenoids, and wiring are verified good yet rattle persists after warm-up, phaser replacement is justified. On many engines phasers can be serviced with valve cover and timing cover removal — not full engine extraction — but labor scope varies significantly by platform.
Chain, guide, and tensioner inspection should occur whenever the timing cover is open. Replacing phasers on a stretched chain guarantees return visits. Gregor's standard at xenolithoid is to photograph timing marks, measure chain wear, and document correlation data on the signed work order before reassembly.
After repair, verify quiet cold starts across three consecutive mornings and confirm no new correlation codes under load. That verification sequence is what separates a documented fix from a guess.
Protecting VVT components long term
Follow manufacturer oil change intervals — or shorten them for short-trip and cold-climate driving where condensation dilutes oil. Use the viscosity grade specified for your engine, including required dexos, LL, or equivalent certifications where applicable.
Address startup rattle early. Phaser wear accelerates when lock pins hammer repeatedly against stops under low pressure. Early oil system service often prevents the cascade toward full timing service.